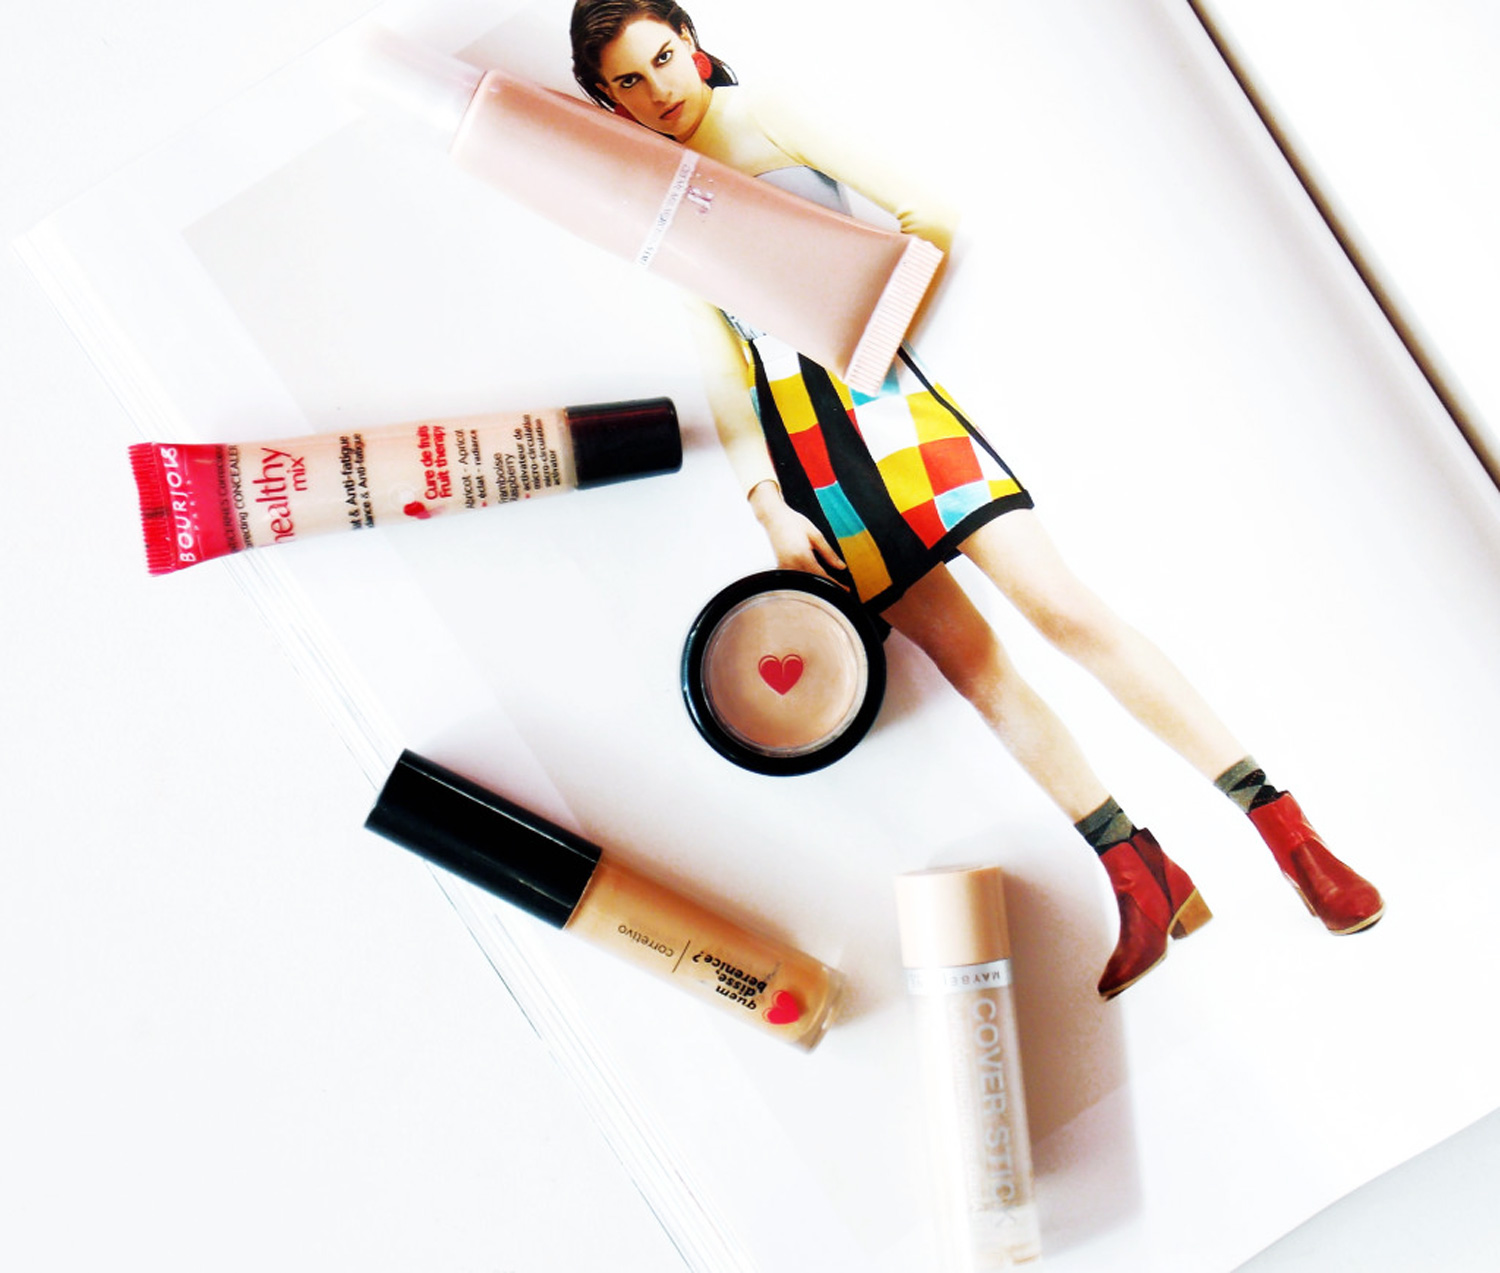
PICK
For the under eye area choose up to two shades lighter than your foundation. To cover the redness of a pimple or any other mark, go with one that matches your foundation.
THE RIGHT TECHNIQUE
- Some people like to apply it before foundation, but if you’re like me and can’t pull it off without wiping out and ruining everything, my tip is: start with foundation first. This will even out your complexion and therefore you’ll apply concealer in a more precise way focusing on the areas that really need it.
- Use a sponge, a soft brush or your ring finger to blend (it’s the weakest and doesn’t pull skin).
- The inverted triangle technique for under the eyes gives a lifted look, just make sure you extend the product until the tip of your cheeks so it blends more naturally. Apply on the inner corners as well, as they tend to be darker.
CONCEALING VS ILLUMINATING
Sheer concealers are best to illuminate, but if you apply them directly without properly correcting first, it’ll only make dark circles more noticeable. To get total coverage apply a creamy concealer, from there you can go ahead and illuminate with a sheer one. Work in thin layers to avoid cakeyness.
AVOID THE PATCHES
- Always moisturize your face and under eye area before doing your makeup.
- Fix a patched concealer by dabbing with your finger or a small blending brush. Top it with a little bit of moisturizer/eye cream and seal with translucent powder.
EXTRAS
- Extend primer towards the under eye area to make it last longer. Avoid mattifying formulas as they accentuate dryness and dehydration.
- Don’t put concealer close to the lower lashes, it’ll just exaggerate fine lines.
- To cover a zit without aggravating the problem, pick an oil-free concealer. Clean the surface with a paper tissue after use to avoid spreading bacteria.


