Determinate your angle, hold your breath, put yourself togheter and hope for the best. Eyelining is a tricky art. Esqido made it easier with their new eyeliners, that combine the foolproofnes of pencils with the staying power of gels.
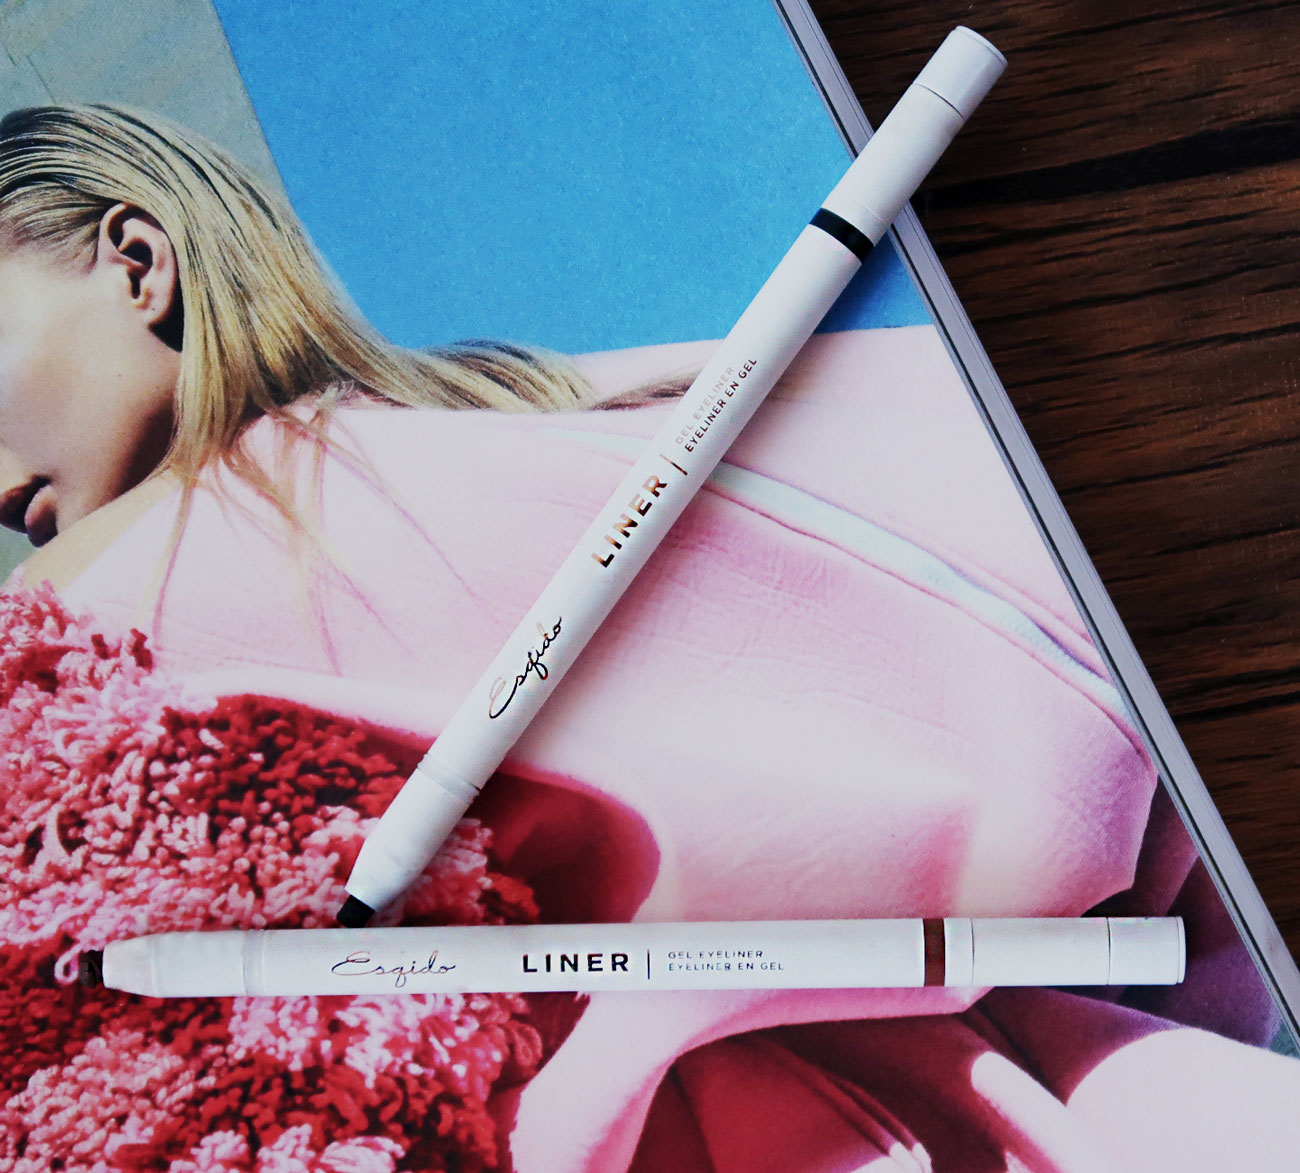
The formula runs super smooth on the lid and gives you time enough to fix any mistake with a cotton dab and a bit of micellar water before it dries as a powder. You can even do a thick line and smokey it out with a blending brush for a quick and effortless eye-enhacing look. It’s very pigmented and last for hours with no budging whatsoever. It’s also paraben, fragance and latex free. Good news if you have sensitive eyes. For those of you who prefear a retractable liner, but also enjoy a sharp edge, you’ll love the built-in sharpener at the bottom.
Here’s my eyelining process:
- I prime and seal with a natural color shadow to avoid transfering.
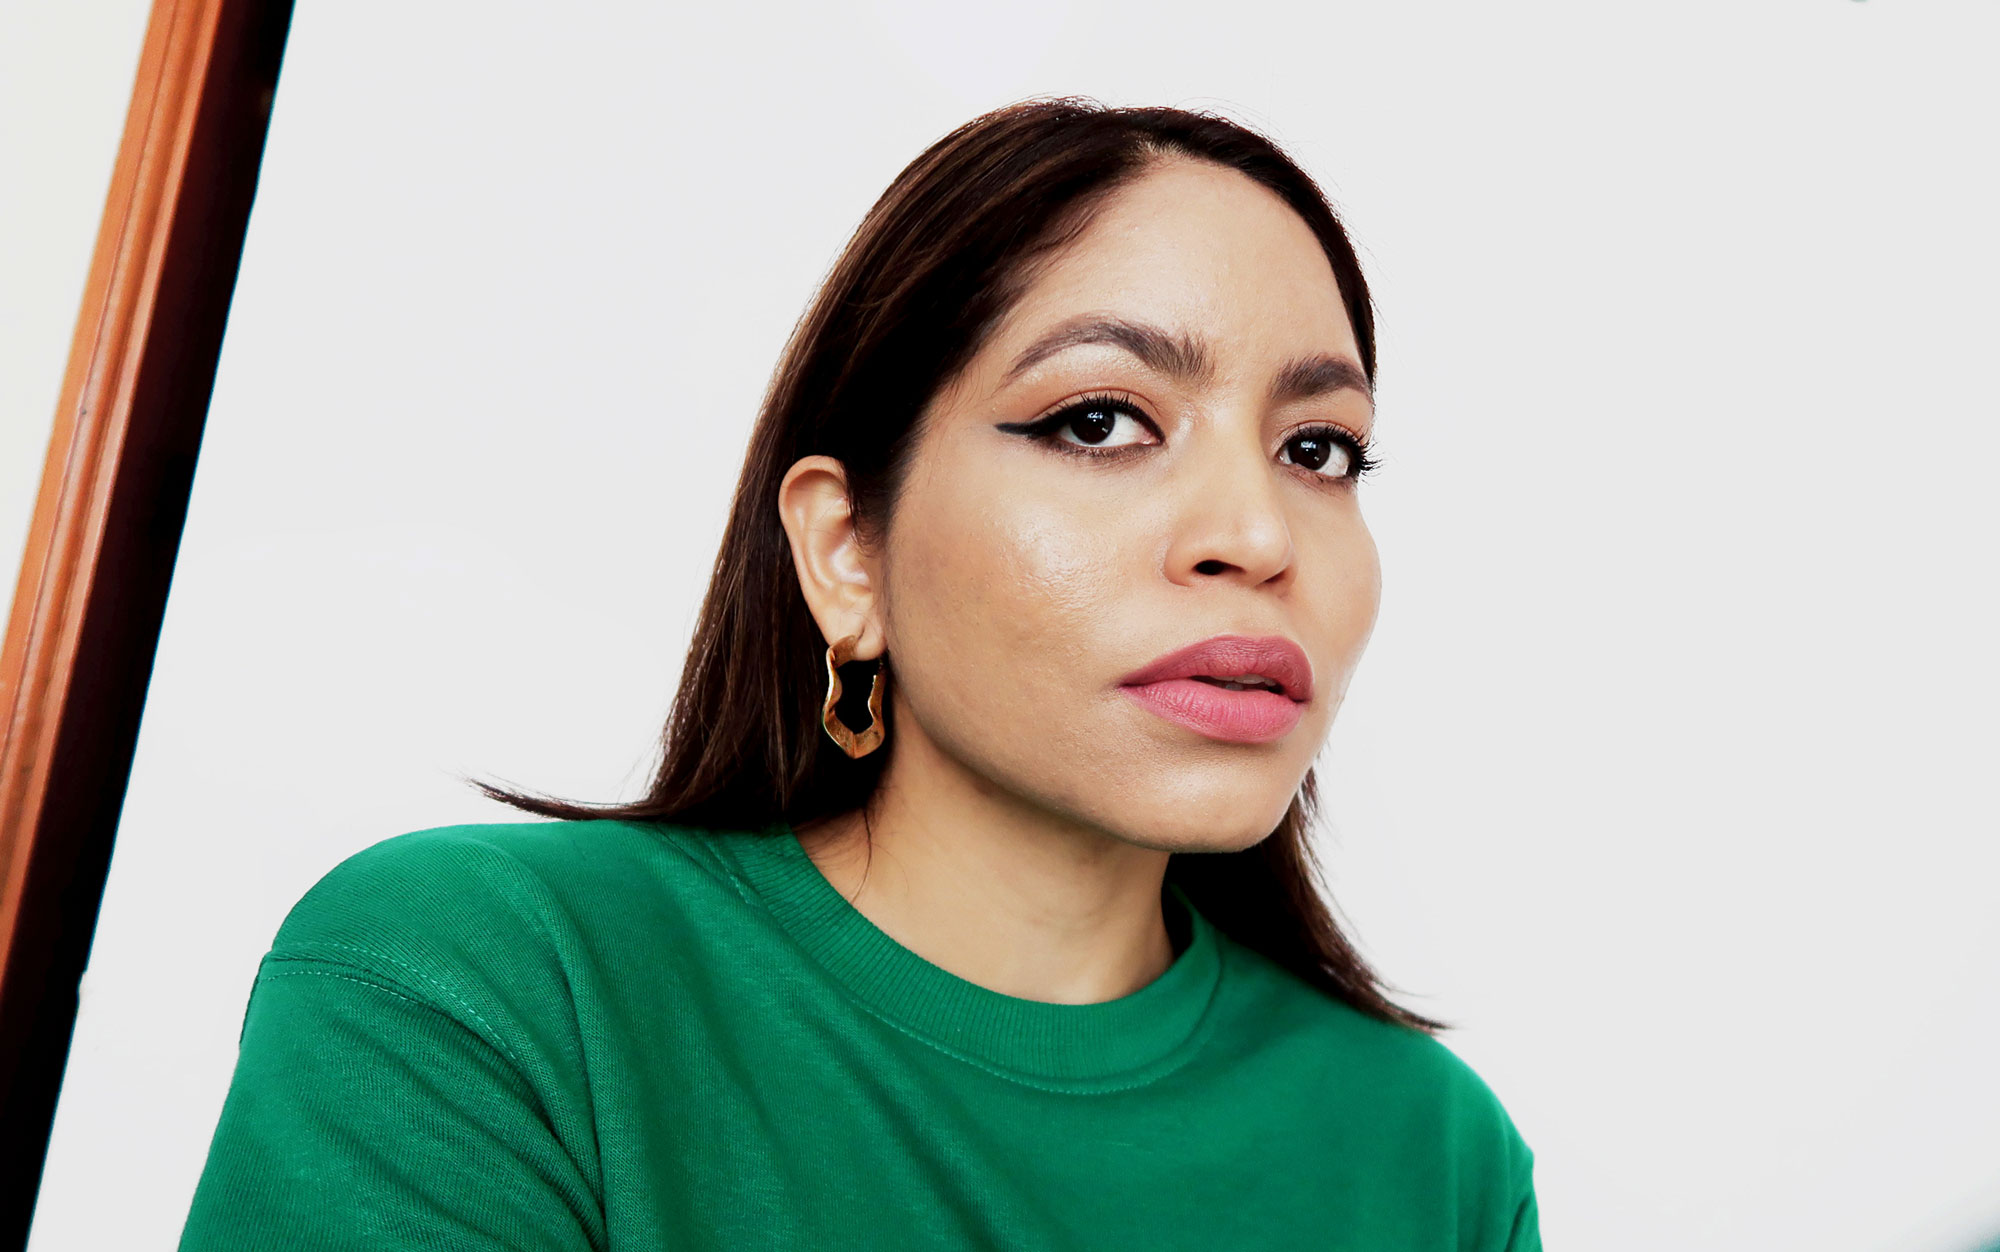
- I start from the outter corner of the eye following my natural lash line and making it thinner as I get near the tear duct.
- To lift the eye, I extend the line from the the outer edge slightly upwards and towards the end of the brow.
- From the extended line I just traced, I draw a triangle and connect it back to the lash line. I like to make it more like a graphic line instead of a wing, but this depends on your personal taste and the shape of your eye. Mines are hooded so if make a super thin/short line it basically disappears.
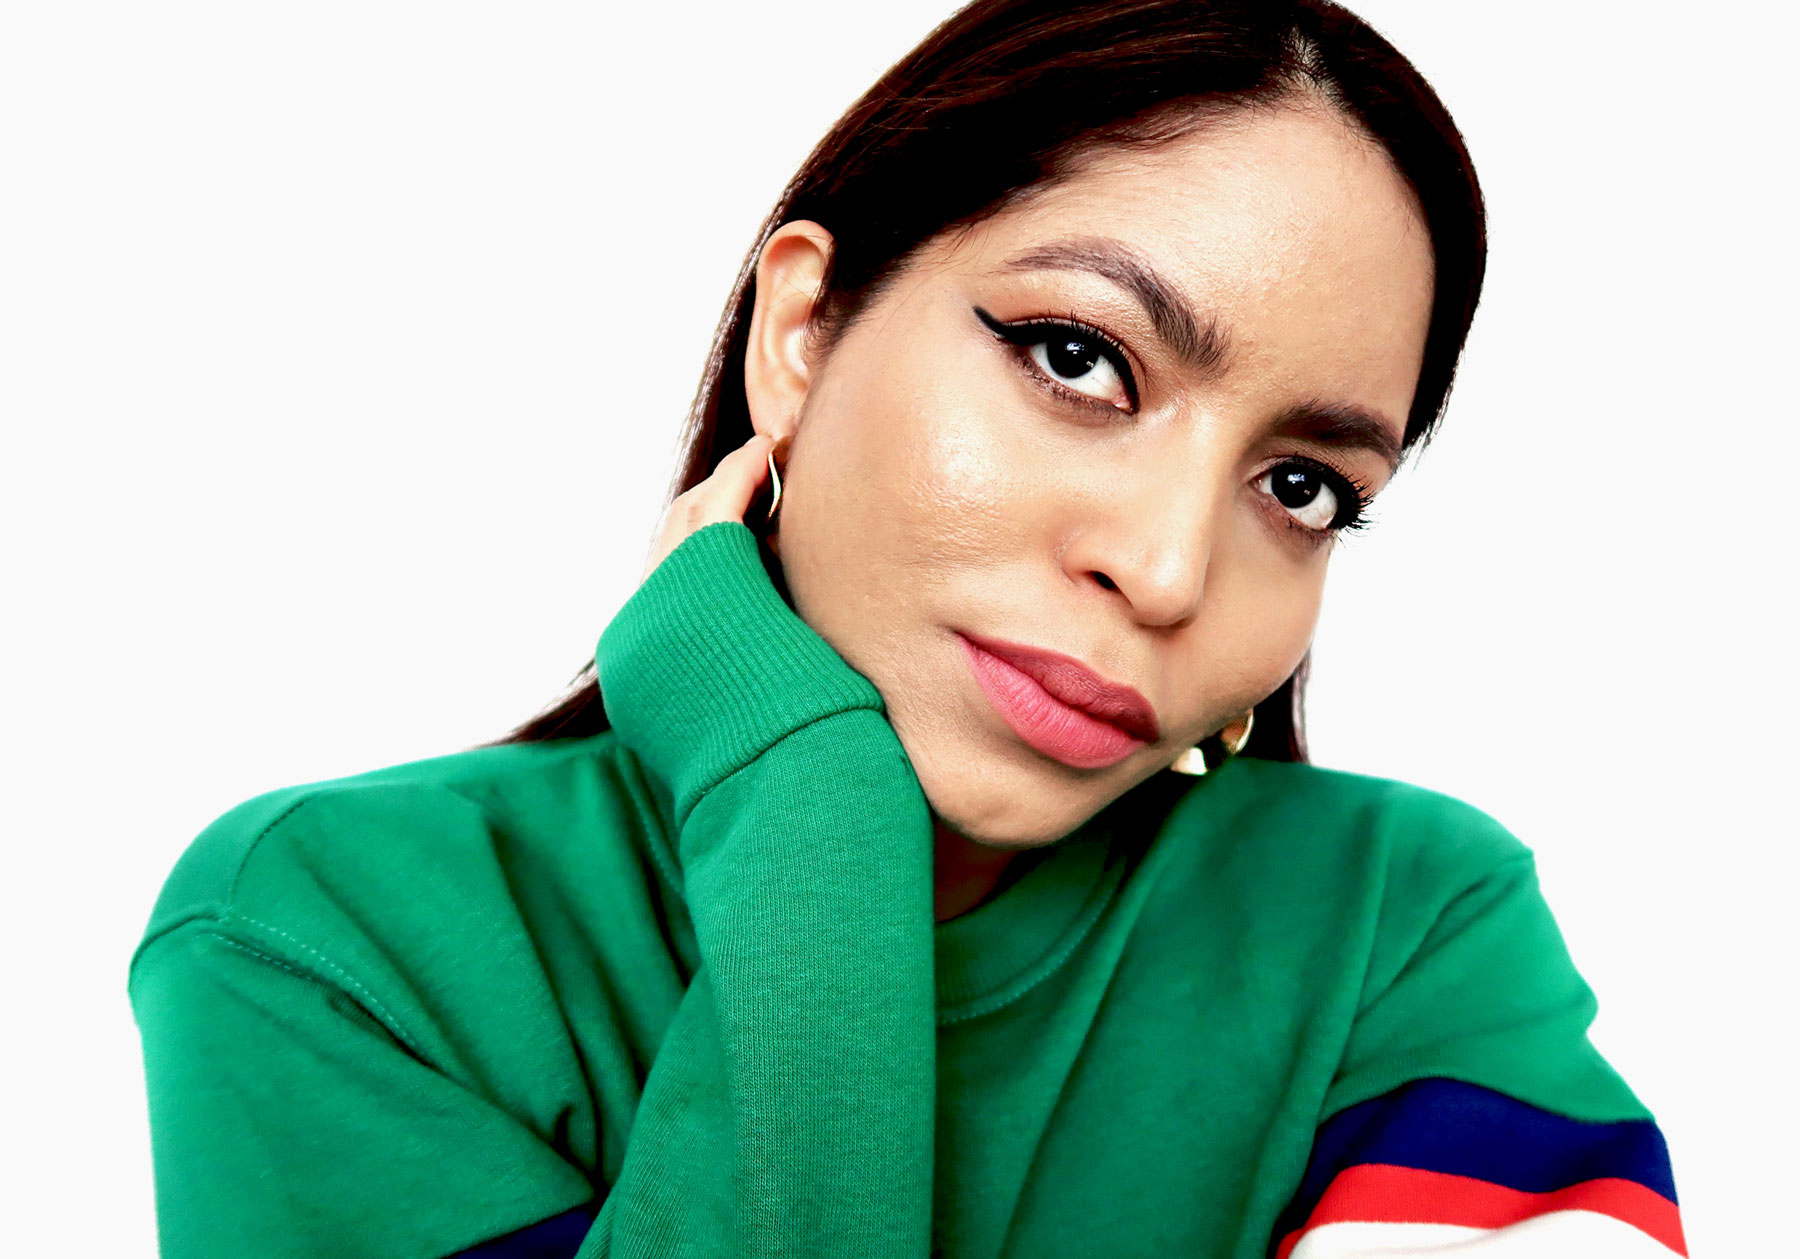
- I make sure to fill any gap on the top lash line to make lashes look fuller and line the water line for dense looking lashes.
- Finally, I line the bottom lash line and water line in brown and blend it for a soft natural effect.
Now it’s your turn to share your best lining tips and tricks! Sound of below!
PR Sample. All opinions are my own.

